The following post will explain how to generate and install a valid certificate using your PKI infrastructure. This way, you won’t have a warning message while accessing your appliance through HTTPS.
Generate the Certificate Signing Request (CSR)
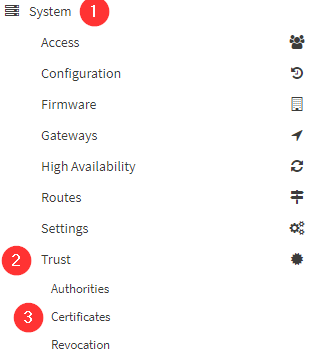
First, you will need to generate a CSR from your OPNsense box, to do so, navigate to:
Click the +Add button which is on the top right corner, then choose Create a Certificate Signing Request
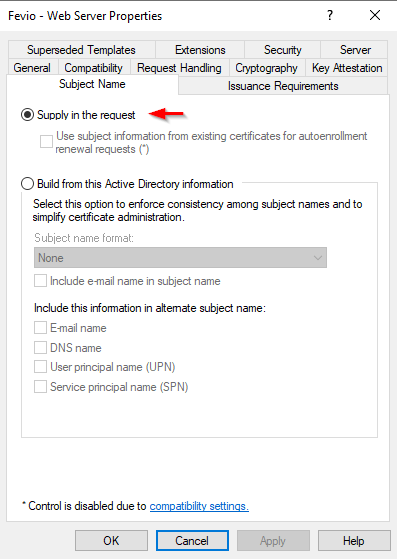
Populate the form with the information you want, choose a proper Descriptive Name and Common Name that match your device (opnsense.fevio.fr for instance)
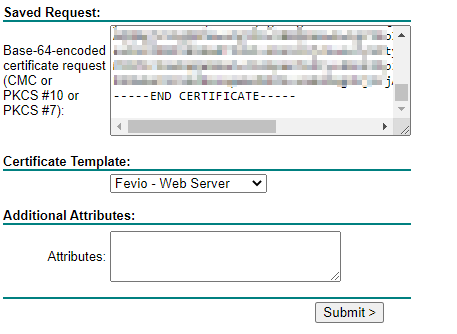
Once it is generated, you will see the list of certificates plus the new one you have requested. Click on the pencil located on the very right of that line, and copy/paste the CSR text.
Submit you CSR to your PKI
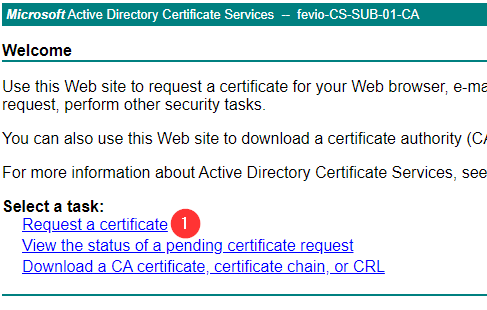
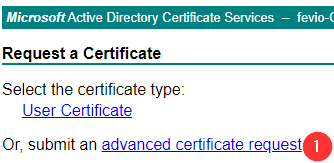
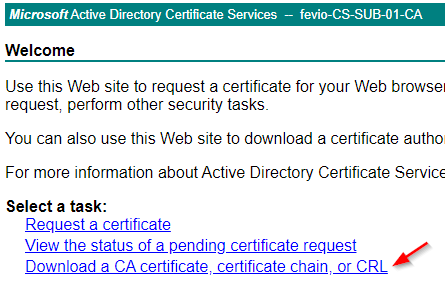
Assuming you already have deployed the Web Enrollment role on your PKI infrastructure, go to its URL, that should be something like: https://my-subordinate-ca.fevio.fr/certsrv
Note that you need to connect as a user with the proper rights, not an administrator for instance. This would be more documented later.
- Once the certificate is generated, choose to export it using Base 64 encoding
- Then, before pasting its content to your OPNSense, do the following:
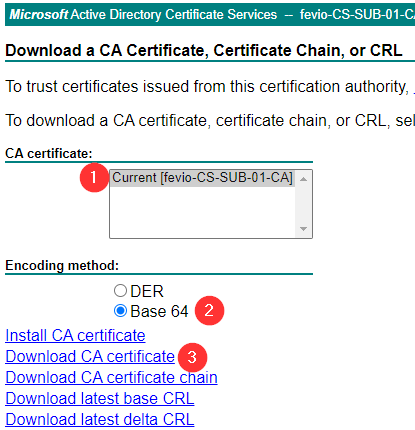
Then, open a text editor, copy the content of your OPNSense certificate at the begining of this empty file, and add the content of the Subordinate CA at the end. This way, you will have the proper chain included in one file.
Return to your OPNSense, and paste the whole content as the response from your CA.
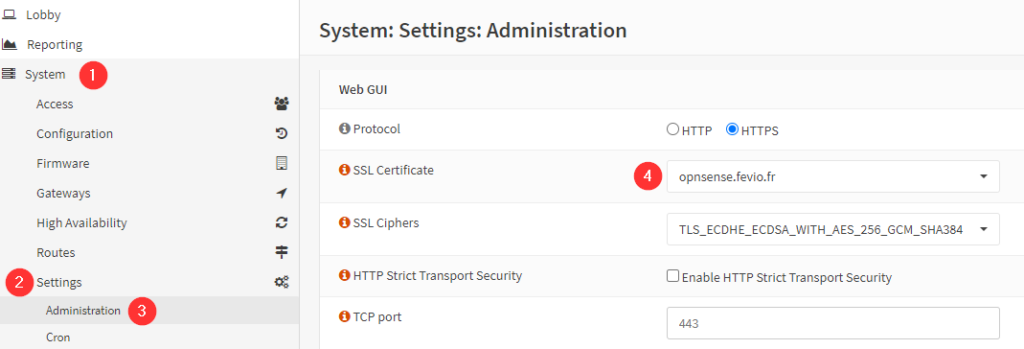
Define the new cert as GUI cert
The last step is easy, go to the following menu and use the scroll down menu to choose your new CA