
 Before moving further, at this time, there is no way to configure your Azure network to push another gateway that the Azure default to your machine, you can create route for the next-hop, but those routes can’t override the default gateway. Long story short, you will have to manually configure the default gateway of your servers to make them use your Fortigate as their next-hop.
First, you will need to know the different subnets that you will use, in this example, I will use four subnets:
- 10.62.34.240/28, this one will be used for the WAN connection
- 10.62.34.160/27, this one will be used to connect machines to port1
- 10.62.34.128/27, this one for port2
- 10.62.34.192/28, and the last one for port3
Note that, depending on your interfaces need, you will have to choose a different appliance from the Microsoft pay-as-you-go catalogue. In order to create that appliance with 4 interfaces, I had to pick the Standard F4 (4 vcpus, 8 GiB memory) size. The virtual network and two subnets will be created during the creation process, call the first WAN and the second WEB or whatever makes sense for your port2.
So, you have created your subnets, then your appliance (FGT), and it’s now time to configure your network, before powering on the FGT. Unfortunately, it should have been turned on right after its creation, so shut it down for now.
Configuring the existing subnets
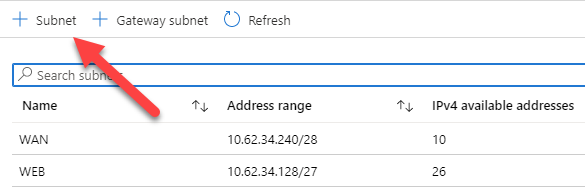
Edit the virtual network created by the wizard, at the time I’m writing this, it’s called FortigateProtectedVNet. You should see your two subnets:

We have to remove the Network Security Group (NSG) assigned by default, except for the WAN subnet, because we want to manage the security through the Fortigate itself. We could have choose to use them as an additional security layer, but in order to keep things simple here, we won’t discuss that part.
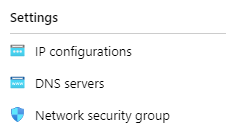
For each existing subnet, click on Network Security Group:
Click on the edit button, then on the NSG assigned:

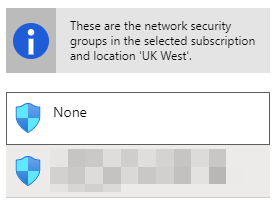
Choose none in the left list:
On the next screen, clic save to confirm the change, repeat the operation for the second subnet.
Adding the other two subnets
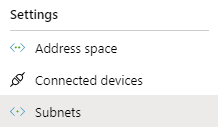
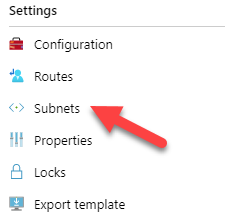
We need to create the other two subnets. Go back to the FortigateProtectedVNet object, and within the left menu, click Subnets:
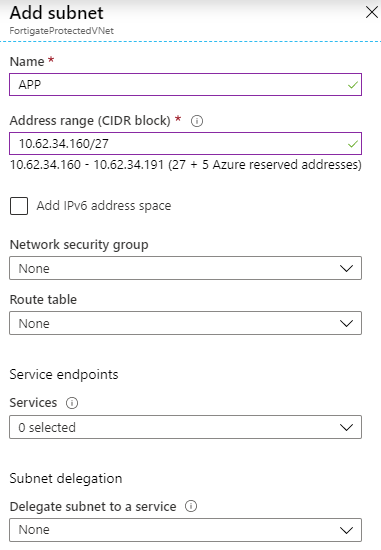
Click the + Subnet button to add a new one:
Add your new subnets, don’t add a NSG or a route table yet:
Adding and configuring routing tables
In order to tell your future VMs which routes using to access ressources, Azure is using routing table. These routing tables are linked to one or many subnets.
During the creation of your Fortigate, two subnets were created along two routing tables. We have to configure them (especially the second one) and add two new routing tables for the new subnets we have created above.
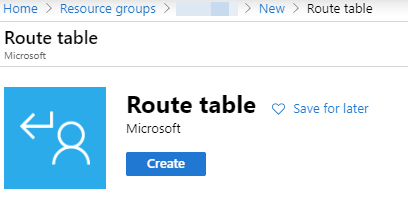
Go to your ressource group, then add a new route table object:
For the naming, I usually use the same name of the automated generated routes, updating only the subnet part, for instance:
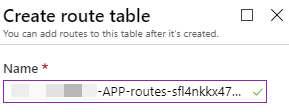
Leave the virtual network route propagation enabled.
Once your new routes have been created, we need to configure them. The WAN routes doesn’t need to be updated. However, for all the other routes, do the following:
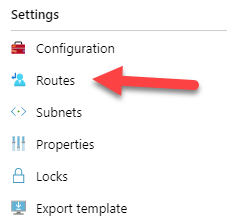
Click on the route table you want to configure, then Routes:
Remove all the current routes defined. Then create this following route to tell your VM to use the Fortigate interface as the next hop:
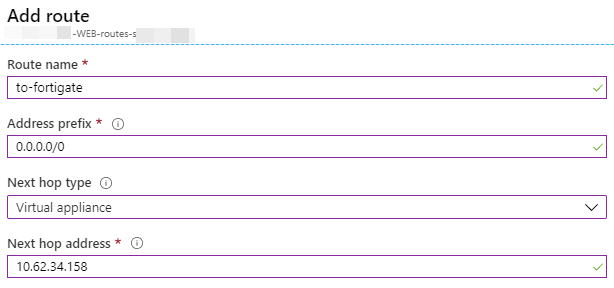
The next hop must match with the future IP of the Fortigate interface connected to that specific subnet. T
Once the route is added, it’s time to associate the subnet, click on Subnets on the left side:
Click the Associate button, and select the proper network/subnet:

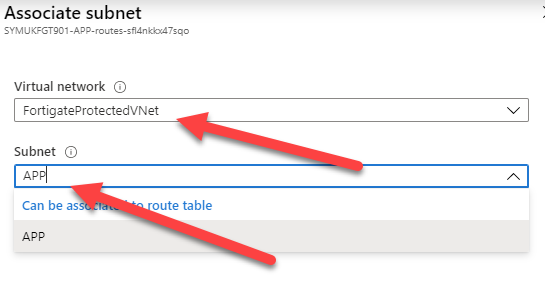
Do the same thing for the other subnets (Except for WAN!)
Add new interfaces to the Fortigate
The current FGT has only two interfaces, turn it off then open its object in order to add two new interfaces.
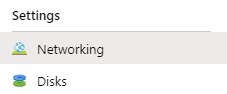
Got to Networking:
Click Attach network interface:
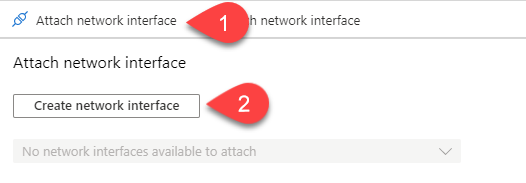
Use the same pattern for the name, replacing the Nic part with the next number (Should be 2 and 3 for APP and DB). Check Static to set your Fortigate interface IP:
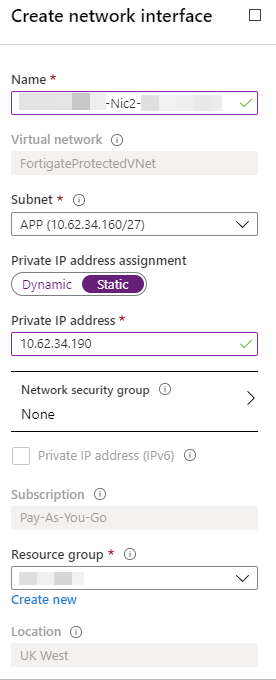
The interface will be created. But you still need to attach it manually on the next screen:
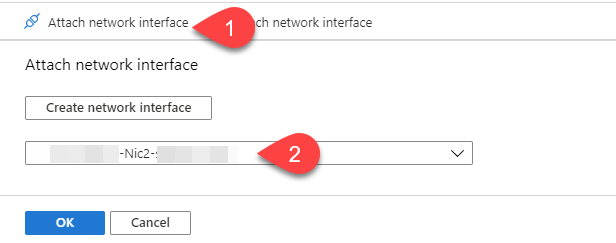
Repeat these operations for the last Nic3 interface.
IP forwarding and
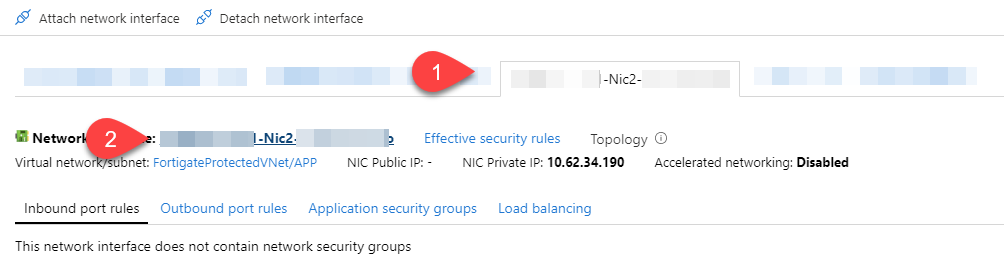
We now need to configure those two new interfaces, for that, click on the interface tab, then on the interface name (#2 on the capture below) to access the configuration pane:
From here, click on IP configurations:
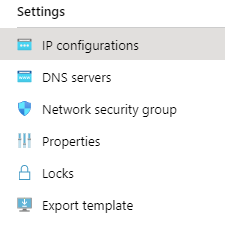
And enable the IP forwarding feature:
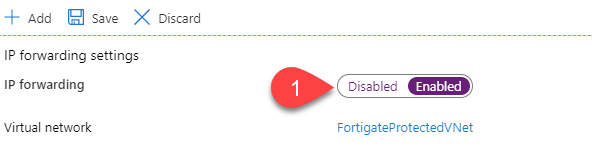
Save, and do the same thing with the last interface (Nic3).
In order to improve performances, we would like to enable accelerated networking, to do so, we need the FGT to be off (That should be the case at this stage) and then we need to run some commands.
Click on the Cloud Shell icon on the top right toolbar:
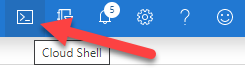
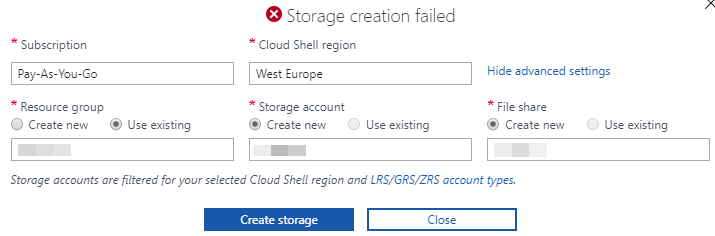
Choose Powershell when asked in the console area, down the window, create a storage (That’s mandatory). If you got a permission issue, click the Advanced Options and from there, create it:
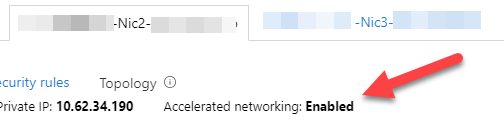
Once connected to the Powershell console, run the following command to enable accelerated networking:
az network nic update --name Nic2 --resource-group YourRessourceGroupName --accelerated-networking true
Exit the console, refresh the whole portal, and you should now see the following:
Accessing your Fortigate
You can now start your FGT, and the use the public IP address created by the wizard to access the portal, using HTTPS.
If you have any issue accessing the interface of your Fortigate, ensure that the NSG created by default still associated to the Nic0 interface, you should have this:
