Tag Archives: Nessus

Nessus: Replace the default GUI Certificate with a custom one

Usually, providers don’t spend much time on offering a simple and detailed way to update the self-signed certificate they provide with their appliances.

I was disapointed to see that Nessus, which will basically complains all the time about the wrong certificate mismatch it will discover on your networkd, doesn’t provide an easy way to replace its own ugly certificate.

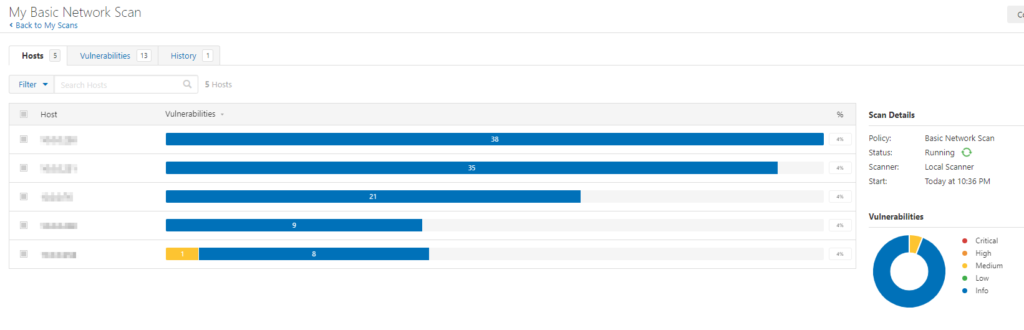
The funny part is, you will see it at least once within the scan result, because of this wrong certificate, what a shame isn’t it?!

Generate a custom cert and a key, using Base 64 encoding

As the title says, you can use whatever way you want to generate a new .cert and a new .key file, that’s mandatory.

The following is related to my own way to do it, I’m writing that here for the records, I suggest you to skip to the next heading.

  • Use OPNSense Certificate tool to generate a CSR
  • Submit the CSR to the AD CS certsrv tool and get your certificate, base 64 encoded
  • Download from OPNSense the associated .key

Install the certificate and the key on your Nessus server

First, stop the Nessus daemon, on Ubuntu 20.04:

/etc/init.d/nessusd stop

Edit the curent certificate with the following command:

vim /opt/nessus/com/nessus/CA/servercert.pem

Remove its content, and replace it with the content of your new certificate.

Then, edit the former key file, with the command below:

vim /opt/nessus/var/nessus/CA/serverkey.pem

Do the same thing, replace the content with the one contained on your key file.

Eventually, start the Nessus server to get your server back online:

/etc/init.d/nessusd start

That was not complex, but I would have appreciate:

  • A way to generate the CSR from the Nessus GUI
  • An obviously, a way to import the certificate as well

Nessus Essentials

Nessus is a security product provided by Tenable, that will scan networks in order to find vulnerabilities among hardware, servers, and more. Tenable provides a free version of this product, called Nessus-Essentials, which allow you the following for free:

  • Asset discovery scanning limited to 16 IPs for vulnerability assessment.
  • The power of Tenable Research. Our research team works closely with the security community to discover new vulnerabilities and provide insights into published vulnerabilities to help organizations quickly detect them in their environment. These insights are built into Nessus Essentials to keep you up to date on the latest vulnerabilities. 
  • No time limit for usage. Use Nessus Essentials for as long as it meets your needs. Should you require advanced features and the ability to scan more than 16 IPs, you can seamlessly upgrade to Nessus Professional.
  • Access to the Nessus training curriculum. Enjoy access to Tenable University training classes to help you understand and take full advantage of Nessus Essentials.  
  • Community Engagement. Engage with your peers and the Tenable team in the Tenable Community to get your questions answered quickly and get tips and tricks for optimizing your product. 

Prerequisites

In order to scan up to 50,000 hosts per scan (Huge for a home lab or small office), the prerequisites provided by Tenable are the following (Nessus 8.11.0):

CPU: 4 2GHz cores

Memory: 4 GB RAM (8 GB RAM recommended)

Disk space: 30 GB, not including space used by the host operating system

A Windows or Linux server (I have chosen to run it on the latest Ubuntu 20.04 LTS)

After having installed the .deb on your Linux server

In order to start Nessus, run the following command:

/etc/init.d/nessusd start

Then go to https://nessusIPaddress:8834/ to configure your scanner

After Nessus has been initialized, select Essentials:

Skip the next step if you have already an activation code, then provide it:

Create a new account for the first scanner administrator

Then wait until the installation is finished:

Plugins will be compiled and that can take a while depending on your server

After you logged in, you will have to decide which IPs to scan:

Then, Nessus will scan the networks you gave it, find devices and computers, and you will be ask to choose the 16 IPs you want to scan. The scan will then starts and the result will be shown like this: